In a quest to build an air quality monitoring solution for my home, I focused first on measuring particulate matter in the air. Air pollution is something we (usually) don’t see and feel, so data from sensors is useful to help us understand the pollution levels. On the other hand, if the humidity is high – we feel warm, and if it’s low – our lips crack. Temperature and air humidity play a role in indoor comfort and can also influence our health. That’s why I decided to add temperature/humidity/pressure sensors to my project.

RuuviTag
There are a lot of (low cost) environmental sensors available on the market, that can be integrated with a Raspberry Pi. I wanted something wireless, so I can put the sensors anywhere and use the Raspberry Pi to collect the data.
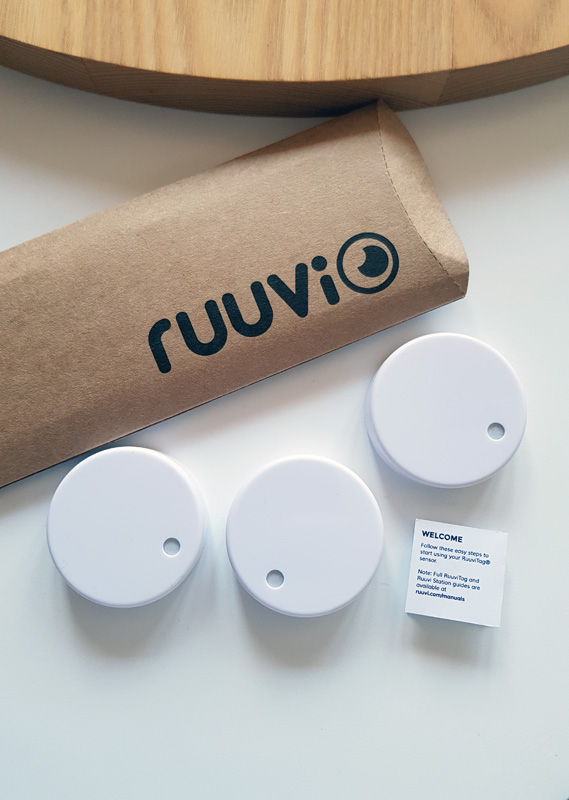
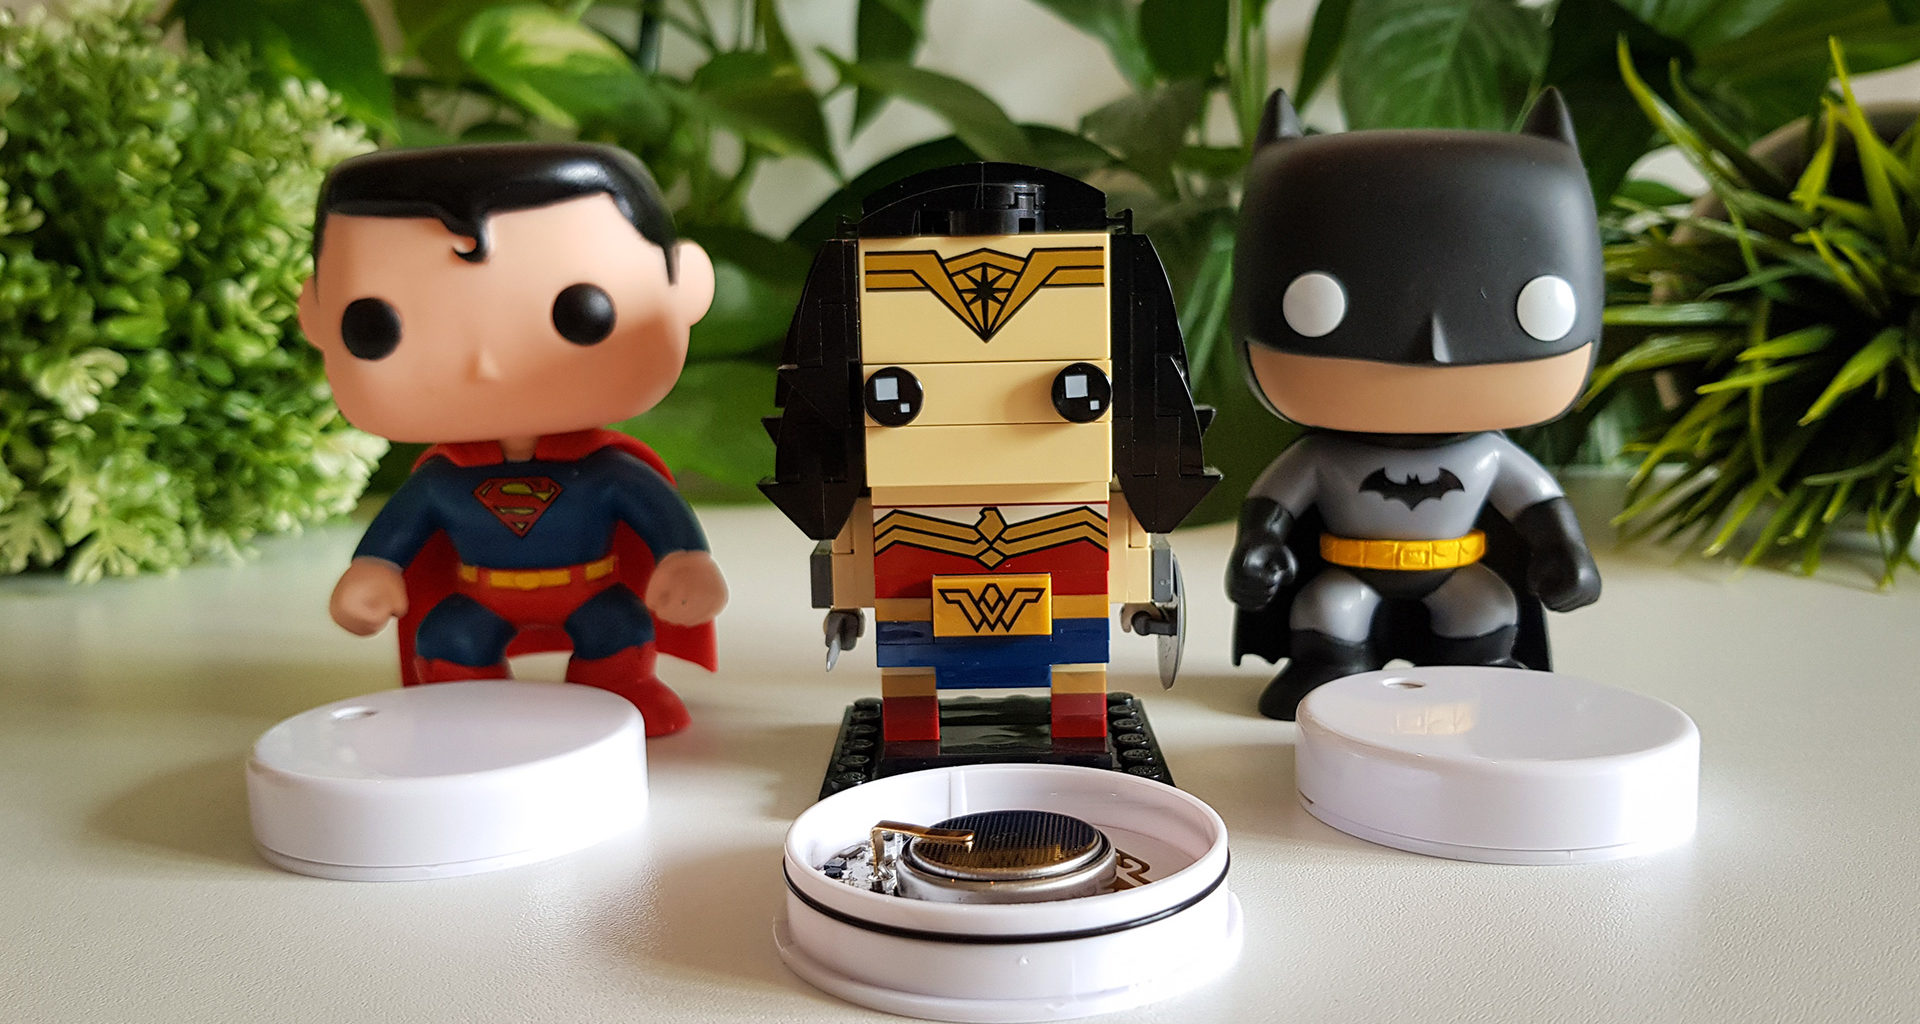
RuuviTag is a sensor capable of measuring the temperature, relative air humidity and atmospheric pressure and sending the data over Bluetooth. It has a replaceable and long-lasting battery. And it’s completely open source.
The moment it’s powered on, it starts measuring and broadcasting once every second using Bluetooth Low Energy advertisements.
Raspberry Pi
I choose Raspberry Pi 3 B+ because it supports Bluetooth Low Energy. But you can use any device which can run Linux and has BLE support (or use a dongle).
Software
Now we need a way to collect the measurements from RuuviTags.
I like coding in Java. But the problem with Java, in this case, is that it does not have support for working with Bluetooth devices. One solution, and the road I choose, is to use some native library and call it from the Java code.
Libraries and utilities
Linux utilities hcitool and hcidump can be used in combination to scan for BLE devices and read the data coming from and going to devices.
hcitool lescan --duplicates --passive
hcidump --raw
But the output of hcidump is not pretty and it’s hard to parse and process. Although successfully used by RuuviCollector utility.
That’s where the Bluewalker steps in. It’s a BLE scanner and advertiser utility with support for RuuviTags and can output a nicely formatted JSON.
Since Bluewalker is written in Go language, you’ll need to install Go first. Find the latest stable version for your device from the Go website, download it and unpack it:
wget "https://dl.google.com/go/go1.12.5.linux-armv6l.tar.gz"
sudo tar -C /usr/local -xvf go1.12.5.linux-armv6l.tar.gz
To add Go to the PATH environment variable, edit the ~/.profile file and add the following lines:
export GOPATH=$HOME/go
export PATH=/usr/local/go/bin:$PATH:$GOPATH/bin
To apply the changes to the .profile file, run the following command:
source ~/.profileCheck if Go is installed properly:
go versionGit is also a requirement for installing Bluewalker, so if you don’t have it installed:
sudo apt install gitNow to download and install the Bluewalker utility:
sudo mkdir /opt/bluewalker
cd /opt/bluewalker
go get gitlab.com/jtaimisto/bluewalker
With the following command, you can start the Bluewalker and let it listen for and display data being broadcasted by RuuviTags:
sudo hciconfig hci0 down && sudo /opt/bluewalker/go/bin/bluewalker -device hci0 -ruuvi -json -duration 5Bluewalker needs to be run as root to be able to access the raw HCI sockets. Also, the selected HCI device needs to be closed for Bluewalker to be able to use it.
Java code
First, we’ll need a class to represent a single measurement:
@Data
public class RuuviTagMeasurement {

	private Instant time;
	private String mac;

	private Double temperature;
	private Double humidity;
	private Integer pressure;
	private Double accelerationX;
	private Double accelerationY;
	private Double accelerationZ;
	private Double batteryVoltage;

}
I’m using Lombok library for @Data and @Slf4j annotations.
The next step is to call the Bluewalker tool to capture the measurements from RuuviTags and parse the JSON output (using Jackson library).
Here we instruct Bluewalker to scan for 5 seconds. Since it may collect multiple measurements from the same device, we’ll filter out duplicate measurements (per MAC address).
@Slf4j
public class RuuviTagDriver {

	private static final String COMMAND = "hciconfig hci0 down && /home/pi/go/bin/bluewalker -device hci0 -ruuvi -json -duration 5";

	private ObjectMapper objectMapper = new ObjectMapper();

	public List<RuuviTagMeasurement> measure(List<String> macs) {
		Process process = null;

		try {
			process = new ProcessBuilder("/bin/sh", "-c", COMMAND).start();
		}
		catch (IOException e) {
			log.error("Failed to execute command. {}", e.getMessage());
		}

		if (process == null || !process.isAlive()) {
			log.error("Process not alive.");
			return null;
		}

		String json = null;

		try (BufferedReader reader = new BufferedReader(new InputStreamReader(process.getInputStream(), StandardCharsets.UTF_8))) {
			json = reader.lines().collect(Collectors.joining());
		}
		catch (IOException e) {
			log.error("Failed to read from input. {}", e.getMessage());
		}

		process.destroyForcibly();

		if (json == null) {
			log.error("Failed to read data.");
			return null;
		}

		// We need to convert the output to a valid JSON array
		json = "[" + StringUtils.replace(json, "}{", "},{") + "]";

		List<Map<String, Object>> data = null;

		try {
			data = objectMapper.readValue(json, new TypeReference<List<Map<String, Object>>>() {});
		}
		catch (IOException e) {
			log.error("Failed to parse json. {}", e.getMessage());
		}

		if (data == null) {
			log.error("Failed to parse data.");
			return null;
		}

		return data.stream()
				.map(this::processEntry)
				.filter(Objects::nonNull)
				.filter(m -> macs.contains(m.getMac()))
				.filter(StreamUtils.distinct(RuuviTagMeasurement::getMac))
				.collect(Collectors.toList());
	}

	private RuuviTagMeasurement processEntry(Map<String, Object> entry) {
		Map<String, String> deviceData = (Map<String, String>) entry.get("device");

		if (deviceData == null)
			return null;

		Map<String, Number> sensorsData = (Map<String, Number>) entry.get("sensors");

		if (sensorsData == null)
			return null;

		RuuviTagMeasurement measurement = new RuuviTagMeasurement();

		measurement.setTime(Instant.now());
		measurement.setMac(deviceData.get("address"));
		measurement.setTemperature(sensorsData.get("temperature").doubleValue());
		measurement.setHumidity(sensorsData.get("humidity").doubleValue());
		measurement.setPressure(sensorsData.get("pressure").intValue());
		measurement.setAccelerationX(sensorsData.get("accelerationX").doubleValue());
		measurement.setAccelerationY(sensorsData.get("accelerationY").doubleValue());
		measurement.setAccelerationZ(sensorsData.get("accelerationZ").doubleValue());
		measurement.setBatteryVoltage(sensorsData.get("voltage").doubleValue());

		return measurement;
	}

}
Also here is that useful utility function to filter distinct items from a stream:
public class StreamUtils {

	private StreamUtils() {}

	public static <T> Predicate<T> distinct(Function<? super T, ?> keyExtractor) {
		Set<Object> seen = ConcurrentHashMap.newKeySet();

		return t -> seen.add(keyExtractor.apply(t));
	}

}
Let’s schedule a task to print the measurements at regular intervals:
public class RuuviTagManager {

	public static void main(String[] args) {
		RuuviTagDriver driver = new RuuviTagDriver();

		Runnable task = () -> {
			List<RuuviTagMeasurement> measurements = driver.measure(Arrays.asList("mac1", "mac2", "mac3"));

			if (measurements != null) {
				measurements.forEach(m -> log.info("{} :: Temp: {} | Humidity: {} | Pressure: {}",
						m.getMac(),
						m.getTemperature(),
						m.getHumidity(),
						m.getPressure()));
			}
		};

		ScheduledFuture<?> future = Executors.newSingleThreadScheduledExecutor()
				.scheduleAtFixedRate(task, 0L, Duration.ofMinutes(1L).toMillis(), TimeUnit.MILLISECONDS);

		Runtime.getRuntime().addShutdownHook(new Thread(() -> {
			if (!future.isDone())
				future.cancel(true);
		}));
	}

}
The temperatures are shown in °C, humidity in % and pressure in pascals.
You can use apps like Ruuvi Station and nRF Connect to find out the MAC addresses of your RuuviTags.
Next steps and ideas
- Fell free to let me know in the comments if the code above was helpful to you or if you have suggestions for improvements.
- Use InfluxDB to store the measurements (and then create charts for day or month intervals)
- Send notifications when e.g. temperature exceeds a predefined value
- Calculate dew point based on the temperature and relative humidity
- Add a PM sensor to measure air pollution


1 comment
Thanks for sharing this nice article. I implemented somewhat similar solution with the next step ideas. I used native C code (via Bluez) for accessing the BLE data. I also implemented cloud functionality with mobile apps and made the solution available for everyone. Check it out at http://www.meazurem.com if you are interested.